Using Figlet and Lolcat for Eye-Catching Terminal Messages#
This guide will help you set up Figlet and Lolcat on Linux to create colourful, ASCII-styled terminal messages. I’ve provide detailed instructions for both Ubuntu and Arch-based systems.
Step 1: Install Figlet#
Figlet is a tool for generating ASCII art from text. Use the appropriate commands based on your Linux distribution:
For Arch-based Systems (e.g., Arch, Manjaro):#
sudo pacman -S figlet
Then do -
yay -S figlet-fonts
For Ubuntu-based Systems (e.g., Ubuntu, Debian):#
sudo apt update
sudo apt install figlet figlet-data
Step 2: Install Lolcat#
Lolcat adds vibrant rainbow colours to your terminal output, making your Figlet creations even more eye-catching.
For Arch-based Systems:#
sudo pacman -S lolcat
For Ubuntu-based Systems:#
sudo apt install lolcat
Step 4: Verify the Installation#
Ensure everything is set up correctly:
List Available Fonts:
figlist
This command will display all of the available figlet font files on your system.
Output all fonts to a txt file:
To preview all of the available fonts, you can output them to a text file by running the following commands:
cd ~/Desktop
showfigfonts > figlet_fonts.txt
This command will save the list of available figlet fonts to a text file named
figlet_fonts.txt. Outputting to a txt file is a handy way to be able to preview all of the fonts available to you as there is a lot of them and your terminal may not be able to display them all at once. I’ve also added the output as a page if you’d like to view it all figlet fontsTest Figlet Output:
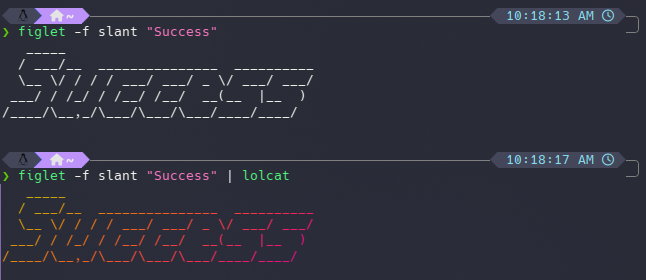
Run the following to test Figlet:
figlet -f slant "Success"
Combine Figlet with Lolcat:
Add some colour to your output:
figlet -f slant "Success" | lolcat
You should see a colourful ASCII-styled message in your terminal.
Example Usage#
Here are some examples to try:
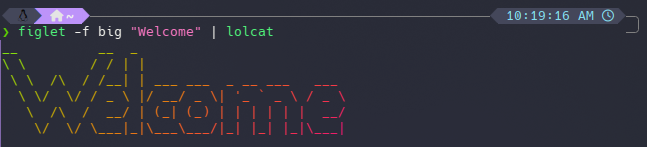
Custom Welcome Message:
figlet -f big "Welcome" | lolcat
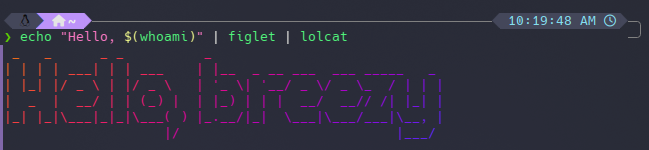
Dynamic Output:
Combine Figlet and Lolcat with other commands:
echo "Hello, $(whoami)!" | figlet | lolcat
Trying Out Figlet and Lolcat together#
Now that you have Figlet working, let’s enhance it with Lolcat’s colourful output.
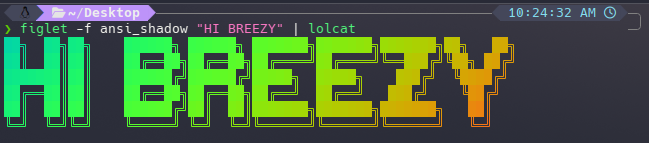
Basic Test:
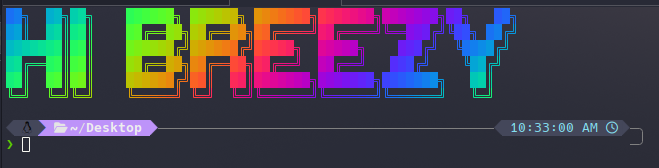
figlet -f ansi_shadow "HI BREEZY" | lolcat
This will display a vibrant, rainbow-colored message.
Lolcat Options Explained:
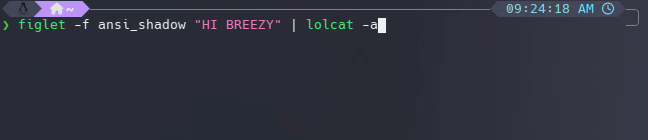
Lolcat comes with a variety of options to customise the colour output:-a(Animation):
Enables animated colouring that cycles through colours over time.
Example:figlet -f ansi_shadow "HI BREEZY" | lolcat -a
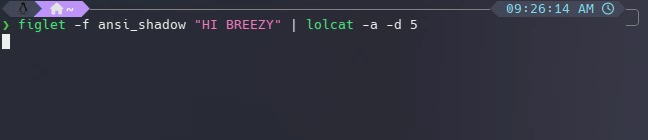
-d(Delay):
Sets the delay in milliseconds for animated frames when-ais enabled.
Example:figlet -f ansi_shadow "HI BREEZY" | lolcat -a -d 5
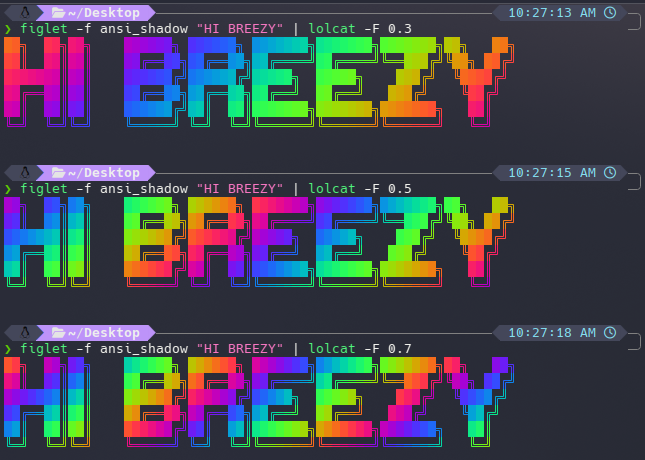
-F(Frequency):
Adjusts the rainbow frequency. Lower values create smoother gradients.
Examples:figlet -f ansi_shadow "HI BREEZY" | lolcat -F 0.3
figlet -f ansi_shadow "HI BREEZY" | lolcat -F 0.5
figlet -f ansi_shadow "HI BREEZY" | lolcat -F 0.7
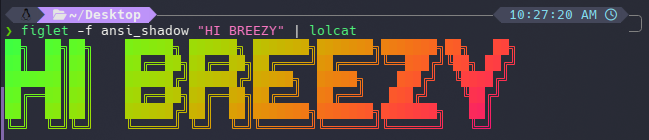
Without Options:
By default,lolcatapplies a static rainbow gradient.
Example:figlet -f ansi_shadow "HI BREEZY" | lolcat
Creative Uses:
Rainbow String:
echo "Hello, Breezy!" | lolcat
Animate Directory Listing:
ls -la | lolcat -a -d 10
Rainbow File Output:
cat yourfile.txt | lolcat -a -d 3
Customising Your Terminal#
Using Figlet and Lolcat#
Decide on the text you’d like to display, whether to use Lolcat, and which fonts and styles suit your preferences. For example, I chose the ANSI Shadow font and custom colours for my terminal setup. Here’s how you can add your own customisation:
Open your terminal configuration file (e.g.,
.zshrcor.bashrc).Add the following line at the very beginning to display your message every time you open the terminal:
(can change the message, font and lolcat options to whatever you’d like)
figlet -f ansi_shadow "HI BREEZY" | lolcat -F 0.3
Save the file and restart your terminal to see the magic in action.
Here’s an example of how it looks when I first open my terminal:
Using Figlet with Custom Colours#
For a more personalised touch, you can use ANSI colour codes to apply specific colours to your Figlet output. Here’s how to preview and customise your terminal message with your favorite colours:
Run the Following Script:
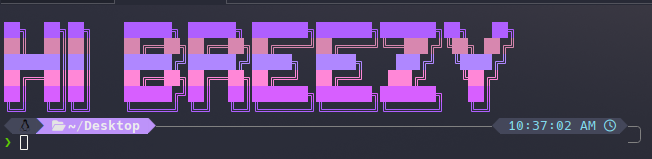
This script uses a set of predefined ANSI colours to apply vibrant hues to Figlet text, cycling through them line by line:# Define colors colors=( "\033[38;5;171m" "\033[38;5;135m" "\033[38;5;175m" "\033[38;5;141m" "\033[38;5;212m" ) # Generate Figlet text with ANSI Shadow font figlet_text=$(figlet -f ansi_shadow "HI BREEZY") # Split the Figlet text into lines (zsh-compatible) lines=("${(f)figlet_text}") # Apply colors to each line and print for i in {1..${#lines[@]}}; do color=${colors[$(( (i - 1) % ${#colors[@]} + 1 ))]} # Cycle through colors echo -e "${color}${lines[i-1]}\033[0m" # Reset color at the end done
Here’s how the output will look:
Customise It:
Replace
ansi_shadowwith your preferred Figlet font.Change the colours by updating the ANSI codes in the
coloursarray. Use the colour chart below to pick your favorite shades.
Preview Colours:
Here’s an ANSI colour chart to help you choose: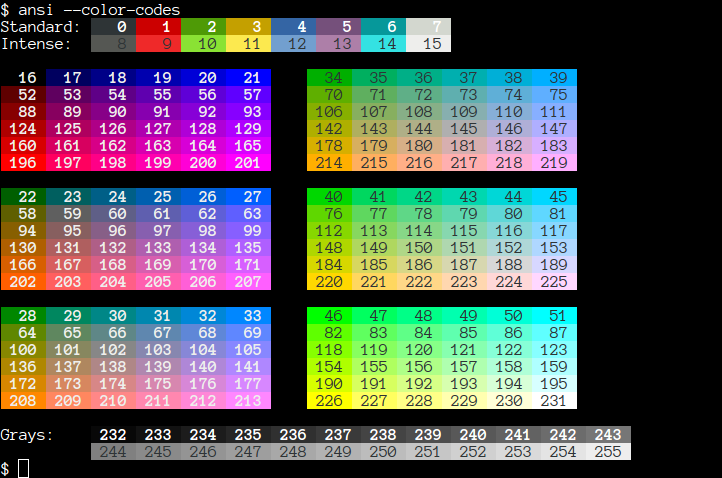
Enjoy Your Setup:
Save the script to a file or add it to your shell configuration to make your terminal display colourful, personalised messages every time it starts.